View My Flavorful Recipes
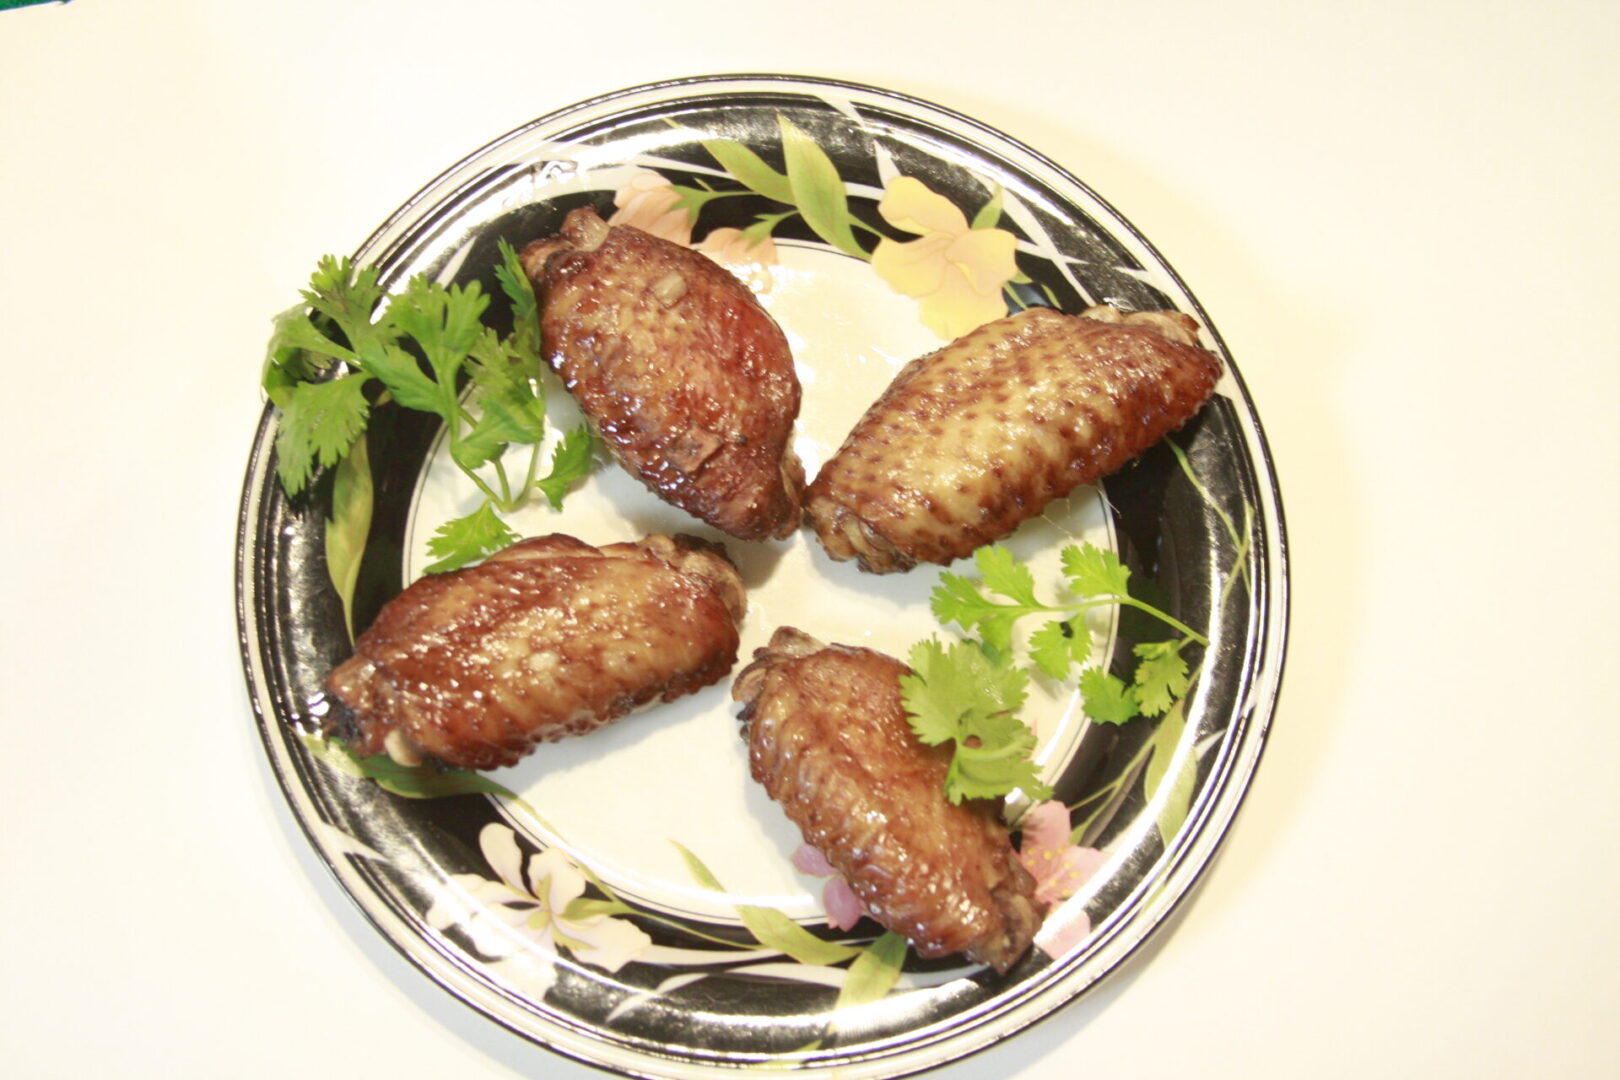
The Ultimate Grilled Chicken Wings Recipe
Grilling chicken wings to perfection involves more than just the barbecue sauce; it’s all about the exceptional marinating sauce. Marinating the wings in this concoction not only reduces cooking time by about ten minutes but also infuses an extraordinary flavor into the meat. The secret lies in the marinating sauce’s composition. The lemon juice present in the mixture creates a gentle reaction with the water within the meat fibers, effectively tenderizing it. Moreover, the lemon’s acidity plays a pivotal role in enhancing the overall cooking process.
Now, let’s embark on the journey of crafting the most exquisite grilled chicken wings. Follow these chronological steps to ensure that every bite is a burst of delightful flavors:
Step 1: Preparing the Meat
Begin by giving the chicken wings a gentle wash under cool water. This initial step ensures the cleanliness of the meat and sets the stage for the marinating process. Once washed, place the chicken wings in a container that can comfortably accommodate at least two quarts of liquid.
Step 2: Crafting the Flavorful Marinating Sauce
The heart of this recipe lies in the marinating sauce, carefully composed to infuse the chicken wings with exceptional taste and tenderness.
Ingredients for the Marinating Sauce:
- 1 cup soy sauce
- 1 cup distilled vinegar
- ½ cup water
- ½ cup lemon juice
- ½ onion, finely chopped
- 1 clove garlic, minced.
Combine these ingredients in any order you prefer, ensuring a harmonious blend of flavors. This aromatic mixture is the key to transforming ordinary chicken wings into a culinary masterpiece.
Step 3: Marinating the Chicken Wings
Pour the marinating sauce over the chicken wings, ensuring that each piece is fully coated with this tantalizing elixir. The marriage of soy sauce, vinegar, lemon juice, onion, and garlic sets the stage for an explosion of flavors.
For optimal results, cover the container and place it in the refrigerator for a duration of eight hours. However, to unlock the full potential of flavor, consider letting the wings soak in this flavorful concoction overnight.
Step 4: The Grilling Process
As the marinated chicken wings emerge from their flavorful immersion, they’re now ready to meet the grill.
Preheat your grill to a suitable medium heat. Before placing the wings on the grill, ensure that it’s properly sprayed or oiled to prevent any sticking mishaps.
Lay the marinated chicken wings on the grill rack, allowing them to cook to a glorious golden brown hue. The infusion of flavors from the marinating sauce combined with the grilling process will create a symphony of taste that’s sure to captivate your senses.
Step 5: Savor the Culinary Triumph
Once the chicken wings have achieved their golden perfection, it’s time to experience the culinary triumph you’ve created. There’s no need to add any additional barbecue sauce; these wings are already rich in flavor and character.
Serve your grilled chicken wings as the main attraction of a delightful meal, or present them as a delectable appetizer that’s bound to delight your taste buds.
With every succulent bite, savor the harmonious blend of ingredients, the tenderizing magic of lemon juice, and the expertise of your grilling finesse. These grilled chicken wings are an embodiment of culinary excellence, meant to be enjoyed to the fullest.
Indulge in the symphony of flavors that you’ve orchestrated and relish the sensation of a culinary masterpiece brought to life.


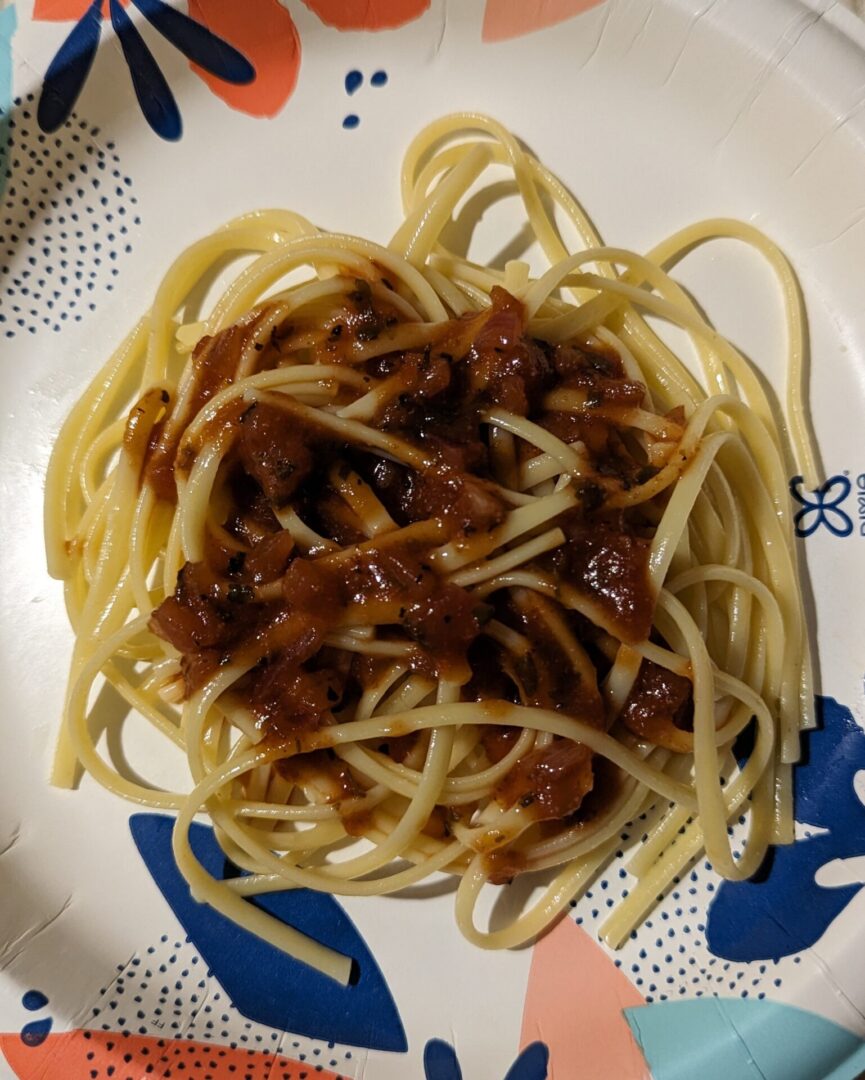
Quick and Simple Spaghetti Sauce
Prepare a delicious spaghetti sauce in no time with this easy-to-follow recipe. The ingredients and detailed steps are organized chronologically for your convenience.
Ingredients:
- 1 12oz can of tomato sauce
- ½ cup Ketchup
- ½ cup water
- ½ onion, finely chopped
- 3 tbsp oil
- 3 tbsp Worcestershire sauce
- 4 tbsp red wine (optional)
- 2 tbsp Italian seasoning
- 2 tbsp garlic powder
- 1 tsp black pepper
- 1 tsp salt, to taste
Preparation:
Step 1: Boiling the Spaghetti
- Begin by boiling the spaghetti according to the package instructions. Once cooked, drain the spaghetti and set it aside.
Step 2: Preparing the Sauce
- Return the empty pot to the stove and place it on low heat.
- Add 3 tbsp of oil to the pot and let it heat up.
- Toss in the finely chopped onions and sauté them for at least 2 minutes until they turn translucent and fragrant.
- Next, put 3 tbsp of Worcestershire sauce into the pot, and continue sautéing the onions.
- If desired, add 2 tbsp of red wine (optional) to enhance the depth of flavor. Let it simmer and meld with the onions.
- Now, it's time to incorporate the dry seasonings. Add 2 tbsp of Italian seasoning, 1 tsp of black pepper, and salt to taste. Stir well to ensure even distribution of these aromatic flavors.
- Pour in ½ cup of ketchup, the 12oz can of tomato sauce, and ½ cup of water. This mixture forms the base of your delightful spaghetti sauce.
- Finally, add the garlic powder, giving the sauce a garlicky kick. Stir it in and allow it to simmer for an additional two minutes.
- If you're using red wine as an optional ingredient, add the final 2 tbsp at this stage.
Step 3: Simmering and Serving
- Let the sauce cook on low heat, allowing all the flavors to meld and develop. Continue to simmer until the sauce reaches your desired consistency and flavor. This should take approximately 10-15 minutes.
- Once your sauce is ready, serve it over the boiled and drained spaghetti for a quick and delightful meal.
Enjoy your Quick and Simple Spaghetti Sauce, a deliciously easy way to elevate your pasta dinner in no time.
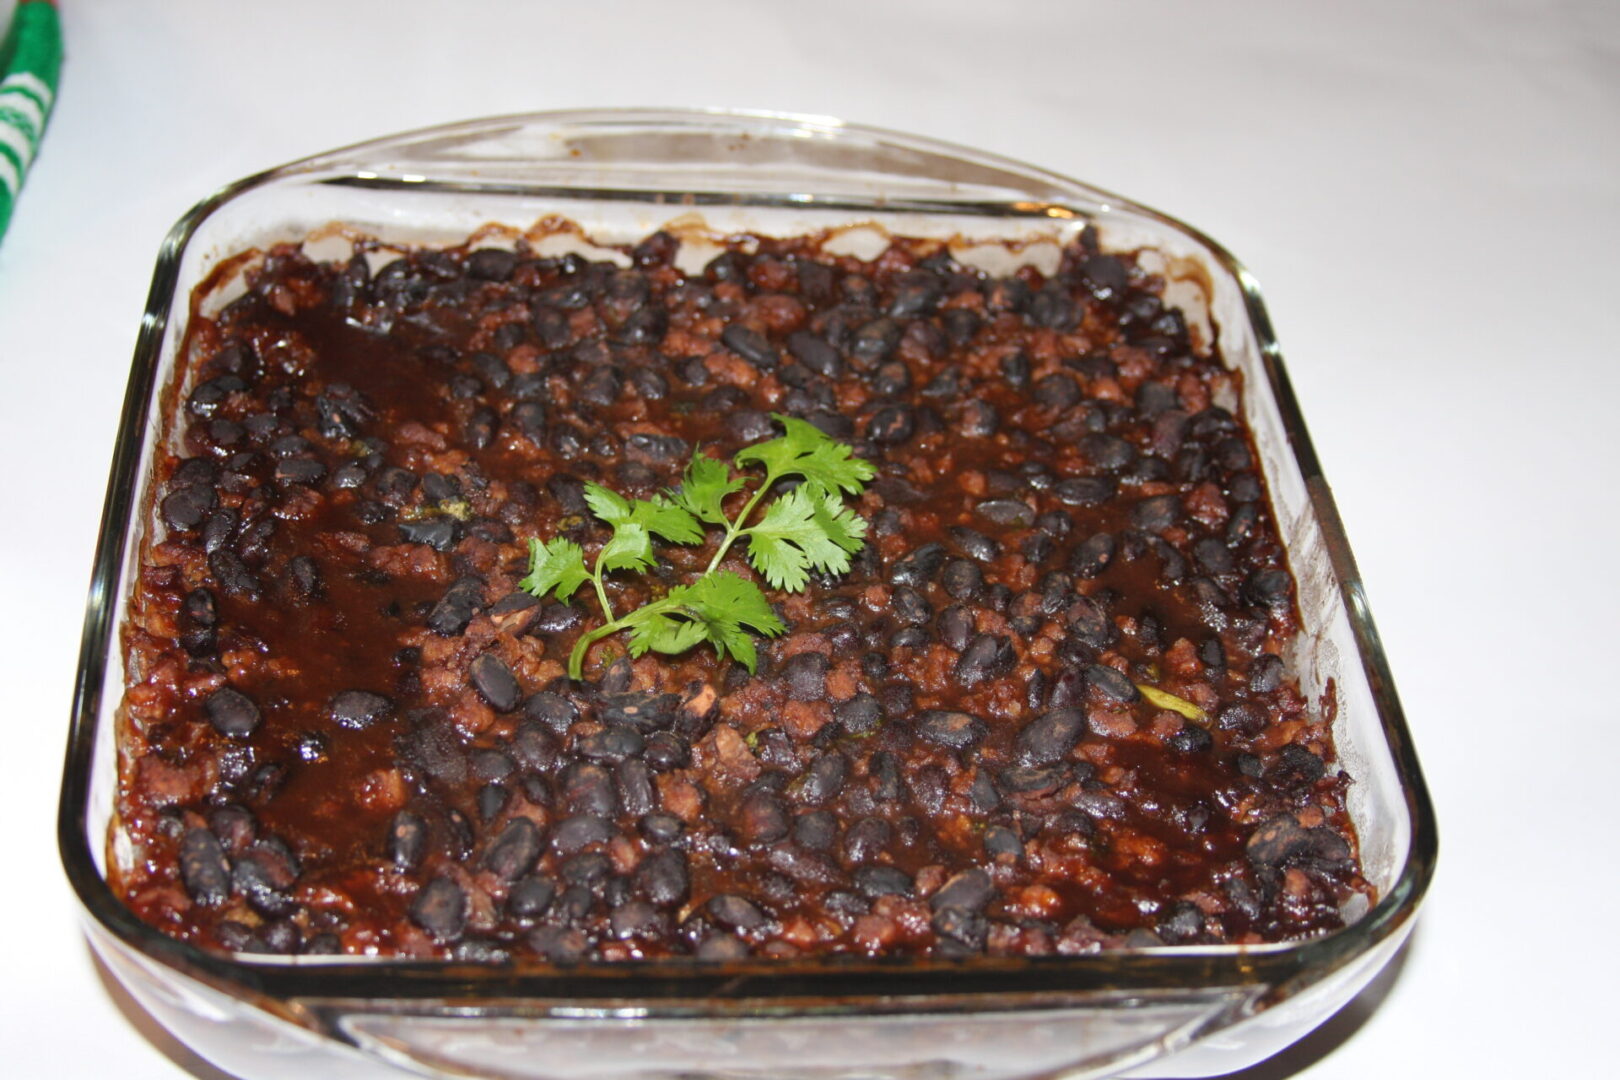
Baked Beans Recipe
Indulge in the wholesome goodness of Baked Beans – a hearty dish packed with protein and fiber. This recipe, thoughtfully arranged in chronological order, ensures you achieve the perfect blend of flavors and textures for a satisfying meal.
Ingredients:
- 1 Package Dry Black Beans
- 1 Package Vegetable Meat or 1 lb Ground Beef
- ¼ cup Brown Sugar
- ¼ cup Ketchup
- 2 tbsp Mustard
- 2 tbsp Soy Sauce
- 2 tbsp Distilled Vinegar
- ½ White Onion
- 1 Clove Garlic, minced
Preparation:
Day One:
- Start by washing the dry black beans thoroughly under running water. Place the beans in a container and cover them with 1 quart of water. Allow them to soak overnight.
- This process helps to soften the beans and reduce cooking time.
- On the next day (Day Two), move on to the next steps for preparing this delightful dish.
Day Two:
- Preheat your oven to 425 degrees Fahrenheit (220 degrees Celsius).
- Begin by cooking the vegetable meat or ground beef on the stovetop. If using ground beef, drain off any excess fat to create a lean base for your baked beans.
- In a mixing bowl, combine the brown sugar with the remaining ingredients: ketchup, mustard, soy sauce, distilled vinegar, finely chopped white onion, and minced garlic. Blend these components well to form a rich and flavorful sauce.
- Retrieve the soaked black beans from the slow cooker. Rinse them thoroughly under cold water.
- Mix the rinsed beans with the cooked vegetable meat or ground beef in a pan. Ensure they are thoroughly combined for a uniform distribution of flavors.
- Carefully pour the brown sugar mixture into the pan, stirring vigorously to create a harmonious blend. Every bean and meat morsel should be coated with this delectable sauce.
- Transfer the well-mixed bean and meat mixture into a casserole dish, creating an even layer.
- Cover the casserole dish and place it in the preheated oven. Allow the beans to bake for about 45 minutes. During this time, the flavors will meld, and the dish will develop a comforting aroma.
- After 45 minutes, remove the casserole dish from the oven. The baked beans should be bubbling gently and exuding their inviting fragrance.
- Serve your delectable Baked Beans as a flavorful side dish or even as a hearty main course. The combination of soft beans, succulent meat, and the enticing blend of sweet and tangy flavors is bound to delight your taste buds.
Indulge in the heartiness of these Baked Beans, enriched with protein and fiber, and revel in the warmth and comfort of each flavorful bite.


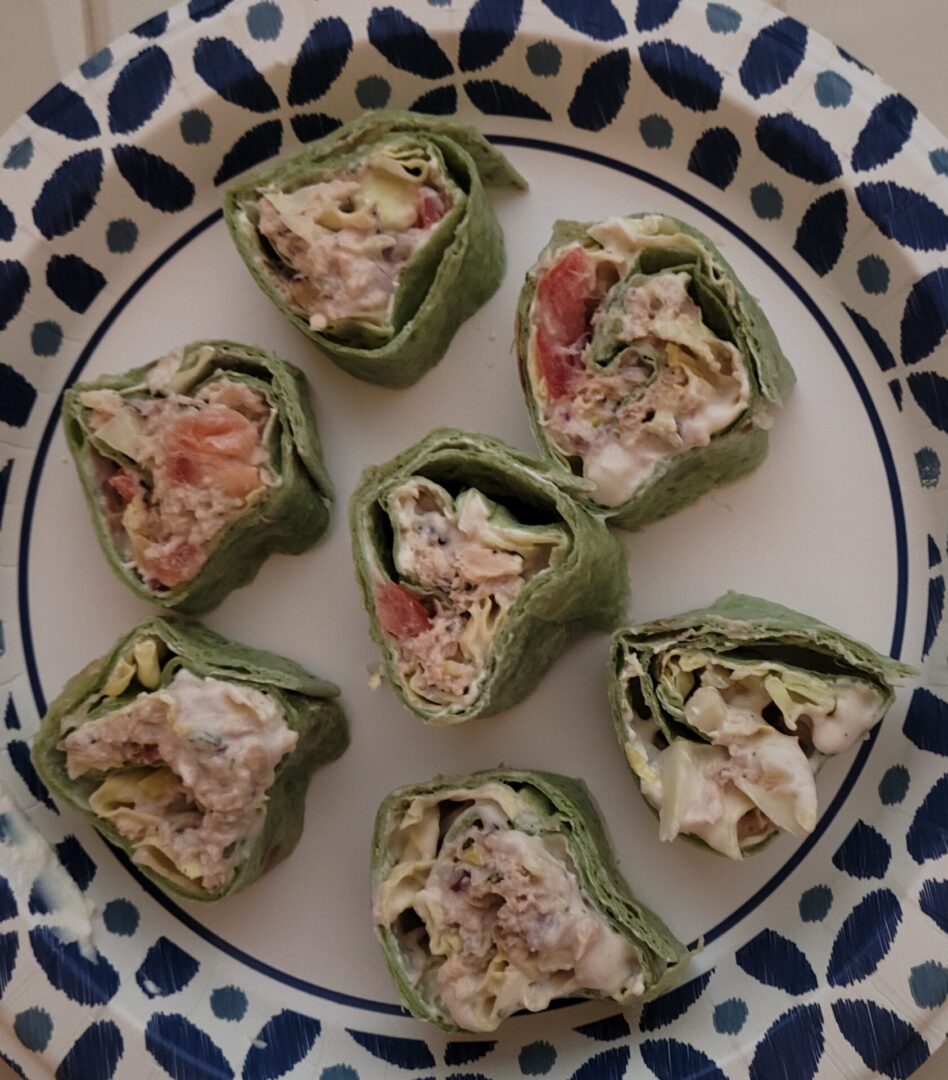
Rolled Salmon Log Recipe
A delightful dish perfect for a light afternoon snack, appetizer for guests, or as an appetizer before meals. This Rolled Salmon Log combines the flavors of salmon, cream cheese, and a burst of vegetables and spices, all wrapped in a tortilla shell for a delicious treat.
Ingredients:
- 1 12 oz Can of Salmon, drained
- 1 Tbsp minced Shallots or onions
- ½ C diced sweet peppers (red or Orange)
- ¼ C chopped walnuts (optional)
- 1 Tsp parsley
- Pinch of salt, dash of pepper
- ½ C mayonnaise
- 8 oz cream cheese, softened
- 1 Tbsp sage
- 1 Tsp Italian seasoning
- 1 Tsp Ms. Dash (salt option)
- 5 medium flour tortilla shells
- 2 medium tomatoes, thinly sliced
- 1 handful of baby spinach leaves
Preparation:
- In a medium mixing bowl, combine the drained canned salmon, minced shallots or onions, diced sweet peppers, chopped walnuts (if using), parsley, a pinch of salt, and a dash of pepper. Mix well until all the ingredients are evenly distributed.
- In a separate bowl, cream the softened cream cheese with sage, Italian seasoning, and Ms. Dash seasoning. Allow this mixture to sit for about 15 minutes, letting the flavors of the spices infuse into the cream cheese.
- Spread the cream cheese and spice mixture evenly onto the surface of each flour tortilla shell using a flat knife.
- On one edge of the tortilla shell, place a few leaves of baby spinach and a few pieces of thinly sliced tomatoes. This will add freshness and crunch to the roll.
- Spread the salmon mixture onto the tortilla shell, covering about half of the surface.
- Gently roll the tortilla shell from the end containing the salmon mixture, creating a neat and compact log. Once rolled, trim and discard both ends for a clean presentation.
- Cut the remaining log into approximately ½-inch thick pieces. Arrange the cut pieces on a serving dish.
- To garnish, sprinkle some chopped parsley over the rolled salmon log pieces for added color and flavor.
- Serve your beautifully crafted Rolled Salmon Log as a delightful appetizer or snack option. The blend of flavors and textures is sure to impress your guests or satisfy your craving for a flavorful treat.
Enjoy the elegant flavors and presentation of your Rolled Salmon Log!
Southwest Cabbage Corn Chip Salad with Homemade Dressing
Experience the vibrant flavors of the Southwest with this delightful Cabbage Corn Chip Salad, perfectly complemented by a zesty homemade dressing. Follow these detailed steps, organized chronologically, for a refreshing and satisfying salad experience.
Ingredients:
Salad:
- 1 cup chopped cabbage
- ¼ cup finely chopped walnuts
- ¼ cup finely chopped walnuts
- 3 rings of red onion, cut in half and thinly sliced
- 1/8 cup of corn
- 1/8 cup black beans (optional)
- ¼ cup cheese, shredded
- Small bag of corn chips
Dressing:
- ¼ cup Mayo
- 1 Tbsp Ketchup
- 1 Tsp Mustard
- 1 Tsp Lemon Juice
- 1 Tsp Worcestershire Sauce
- ½ tsp Salt (adjust to taste)
- ½ tsp red pepper seasoning
Preparation:
Step 1: Preparing the Salad
- Begin by finely chopping the walnuts and set them aside.
- Take a clean, wide plate and sprinkle the finely chopped walnuts in a circular pattern, creating a visually appealing base for your salad.
- Place the chopped cabbage over the walnuts, forming the next layer of your salad.
- Arrange the diced tomato, red onion slices, corn, and black beans (if using) atop the bed of cabbage.
- Sprinkle the shredded cheese evenly over the vegetables, adding flavor and creaminess.
- To complete the salad's presentation, spread the corn chips around the outside of the salad or arrange them in any creative design that suits your preference.
Step 2: Crafting the Homemade Dressing
- Mix the mayonnaise, ketchup, mustard, lemon juice, Worcestershire sauce, salt, and red pepper seasoning in a mixing bowl.
- Thoroughly mix all these ingredients until you achieve a smooth and well-blended dressing. Adjust the salt to your preferred taste.
- Once the dressing is perfectly combined, cover the bowl and refrigerate it until you're ready to use it. Chilling the sauce allows the flavors to meld and intensify.
Step 3: Final Presentation and Serving
- Drizzle the chilled Southwest dressing over the prepared salad just before serving. You can apply it evenly across the salad or serve it on the side for individual use.
- Toss the salad gently to coat the vegetables and cheese with the delectable dressing, ensuring each bite is infused with its zesty goodness.
- Serve this Southwest Cabbage Corn Chip Salad immediately as a refreshing appetizer or a light main course, allowing your taste buds to savor the delightful combination of textures and flavors.
Enjoy this salad as a burst of Southwest-inspired delight, enriched with crisp veggies, crunchy corn chips, and a tangy homemade dressing.
